Overview
Building a PC is a rewarding experience, but the repetitive motion of manually twisting screws can be tedious and time-consuming. The Hoto 25-bit electric screwdriver simplifies this process, offering precision and speed at a fraction of the cost of professional tools. In this guide, you'll learn how to leverage its features—including adjustable torque and a magnetic bit holder—to assemble a computer efficiently. Plus, we'll highlight a limited-time deal on Amazon that slashes the price from $59 to just $29, saving you 50% on a tool that will last for many builds.
Prerequisites
Hardware You'll Need
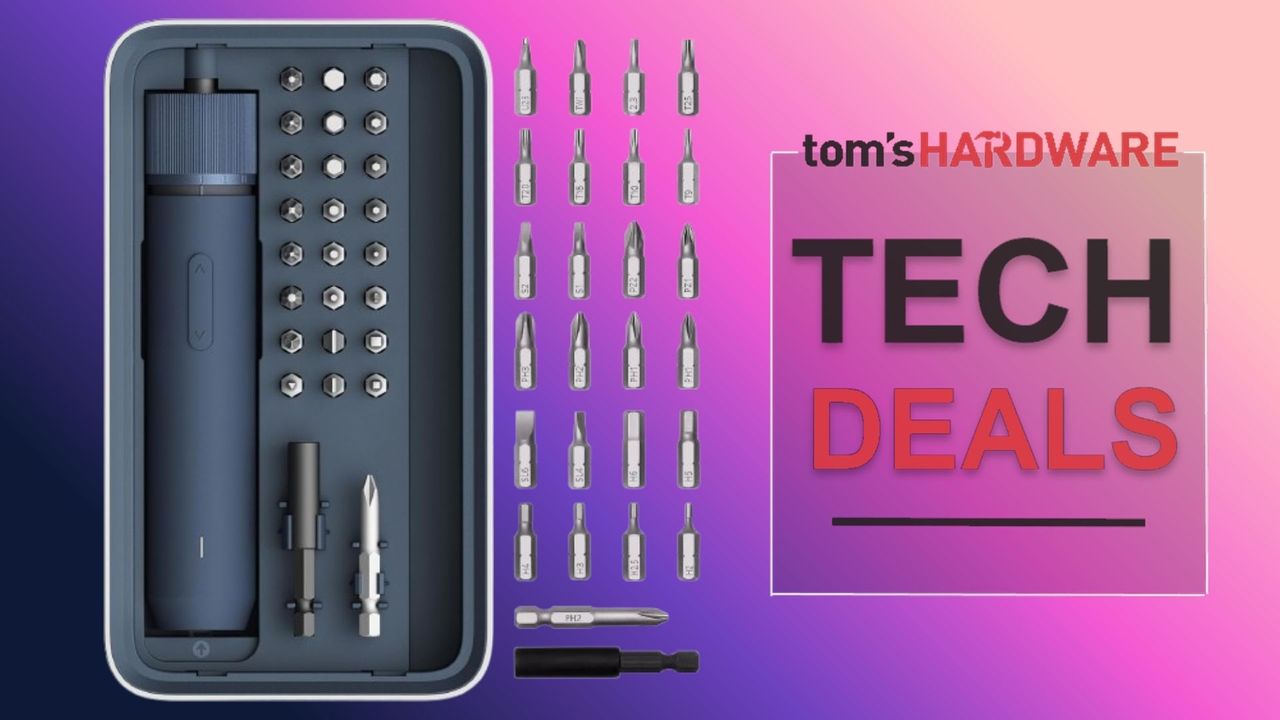
- Hoto 25-bit electric screwdriver set (the subject of this guide)
- PC components: motherboard, CPU, RAM, GPU, power supply, storage drives, and case
- Workspace: a clean, static-free table with good lighting
- Safety gear: anti-static wrist strap (recommended) and a small parts organizer
Understanding the Tool
The Hoto screwdriver features a rechargeable battery, a comfortable grip, and a 25-bit kit covering Phillips, flathead, Torx, and hex sizes. Its adjustable torque settings prevent over-tightening, which is critical for PC components like the motherboard and GPU.
Step-by-Step Instructions
1. Preparing the Screwdriver
Charge the device fully beforehand using the included USB-C cable. Then, choose the correct bit for your first task. For most PC screws, you'll need a Phillips #1 or #2 bit. Press the bit into the magnetic holder until it clicks. To test, hold the screwdriver upright and place a screw on the bit—it should stick due to the magnetism.
2. Setting the Torque
The Hoto screwdriver has a torque dial near the base. Turn it to setting 2–3 for small screws (e.g., M.2 SSD mounts) and 4–5 for larger ones (e.g., motherboard standoffs). Always start lower and tighten manually if needed; electronics are delicate.
3. Installing the Motherboard
Place the motherboard inside the case, aligning it with standoffs. Use the screwdriver with a Phillips #2 bit. Drive the screws in a cross pattern to distribute pressure evenly. The electric action handles repetitive twisting—just apply gentle downward pressure and press the trigger button. Stop when the screw feels snug; do not overtighten. For detailed technique, see Common Mistakes.
4. Securing the Power Supply
The power supply usually uses coarse-thread screws. Use the same Phillips #2 bit at torque setting 4. Insert the PSU and fasten the four rear screws. The tool's ergonomic design reduces wrist fatigue during this step.
5. Attaching Drives (SSD/HDD)
For 2.5-inch SSDs, use the included slim bit if your case requires a smaller head. Most drive bays use Phillips #1 screws. Switch bits using the quick-release chuck. Apply torque setting 3 to avoid stripping the soft metal of the drive.

6. GPU and Expansion Cards
Graphics cards need two to three screws on the bracket and one at the PCIe slot. Use a Phillips #2 bit. The screwdriver's precise control helps you navigate tight corners near the backplate. Again, stop as soon as the screw is flush with the bracket.
7. Cable Management
Many cases have screw-on cable tie anchors. Use the flathead bit to fasten them. The electric screwdriver's low speed prevents cracking the plastic.
Common Mistakes to Avoid
Over-Tightening Screws
The most frequent error is using too much torque. Electronic components use fine threads; over-tightening can crack the motherboard PCB or strip the screw hole. Always use the lowest torque setting that works, and stop when you feel resistance. If the screw clicks or spins freely, you've stripped it—back off and use a larger bit or a manual screwdriver.
Using the Wrong Bit
PC screws are almost always Phillips #1 or #2. Using a flathead or Torx by mistake can damage the screw head. Double-check before inserting. The Hoto set includes a color-coded system—match the bit to the screw type as a first step.
Ignoring Battery Level
A dead battery mid-build is frustrating. Charge fully before starting, and keep the USB-C cable handy. The Hoto driver can also operate as a manual screwdriver when the battery is drained, but that defeats the purpose of electric assistance. If you see the LED flash quickly, stop and charge for 30 minutes.
Forgetting to Ground Yourself
Even though the screwdriver is insulated, static electricity can damage sensitive components. Wear an anti-static wrist strap and work on a conductive mat.
Summary
The Hoto 25-bit electric screwdriver turns PC building from a chore into an efficient, enjoyable process. By following the torque guidelines, selecting the right bits, and avoiding common pitfalls, you'll assemble your system quicker and with less risk of damage. Don't miss the limited-time Amazon deal that brings this essential tool down to $29—half its usual $59 price. Grab one before the timer runs out, and elevate your DIY game today.